---
title: "Slide Masters"
description: "Set presentation-wide branding, layouts, placeholders, colors, and fonts"
---
A Slide Master defines shared presentation styling: fonts, colors, backgrounds, logos, and content placement. Its layouts define the slide types you choose when adding a slide.
The master is stored inside the presentation, so it travels with the file when you share it. Changes to a master or layout affect slides that use it, subject to any formatting overrides on those slides.
## Open Slide Master view
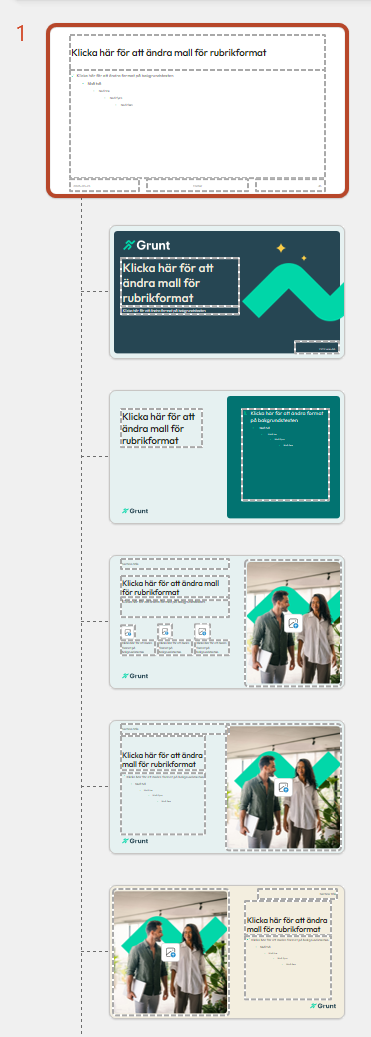
Open **View** > **Slide Master** in PowerPoint. The left pane shows the master at the top, with its layouts underneath. Work within your company's existing master when you want to preserve its branding.

 A presentation can contain several masters for different themes or styles. Check that you are changing the one used by the relevant slides.
## Edit a layout
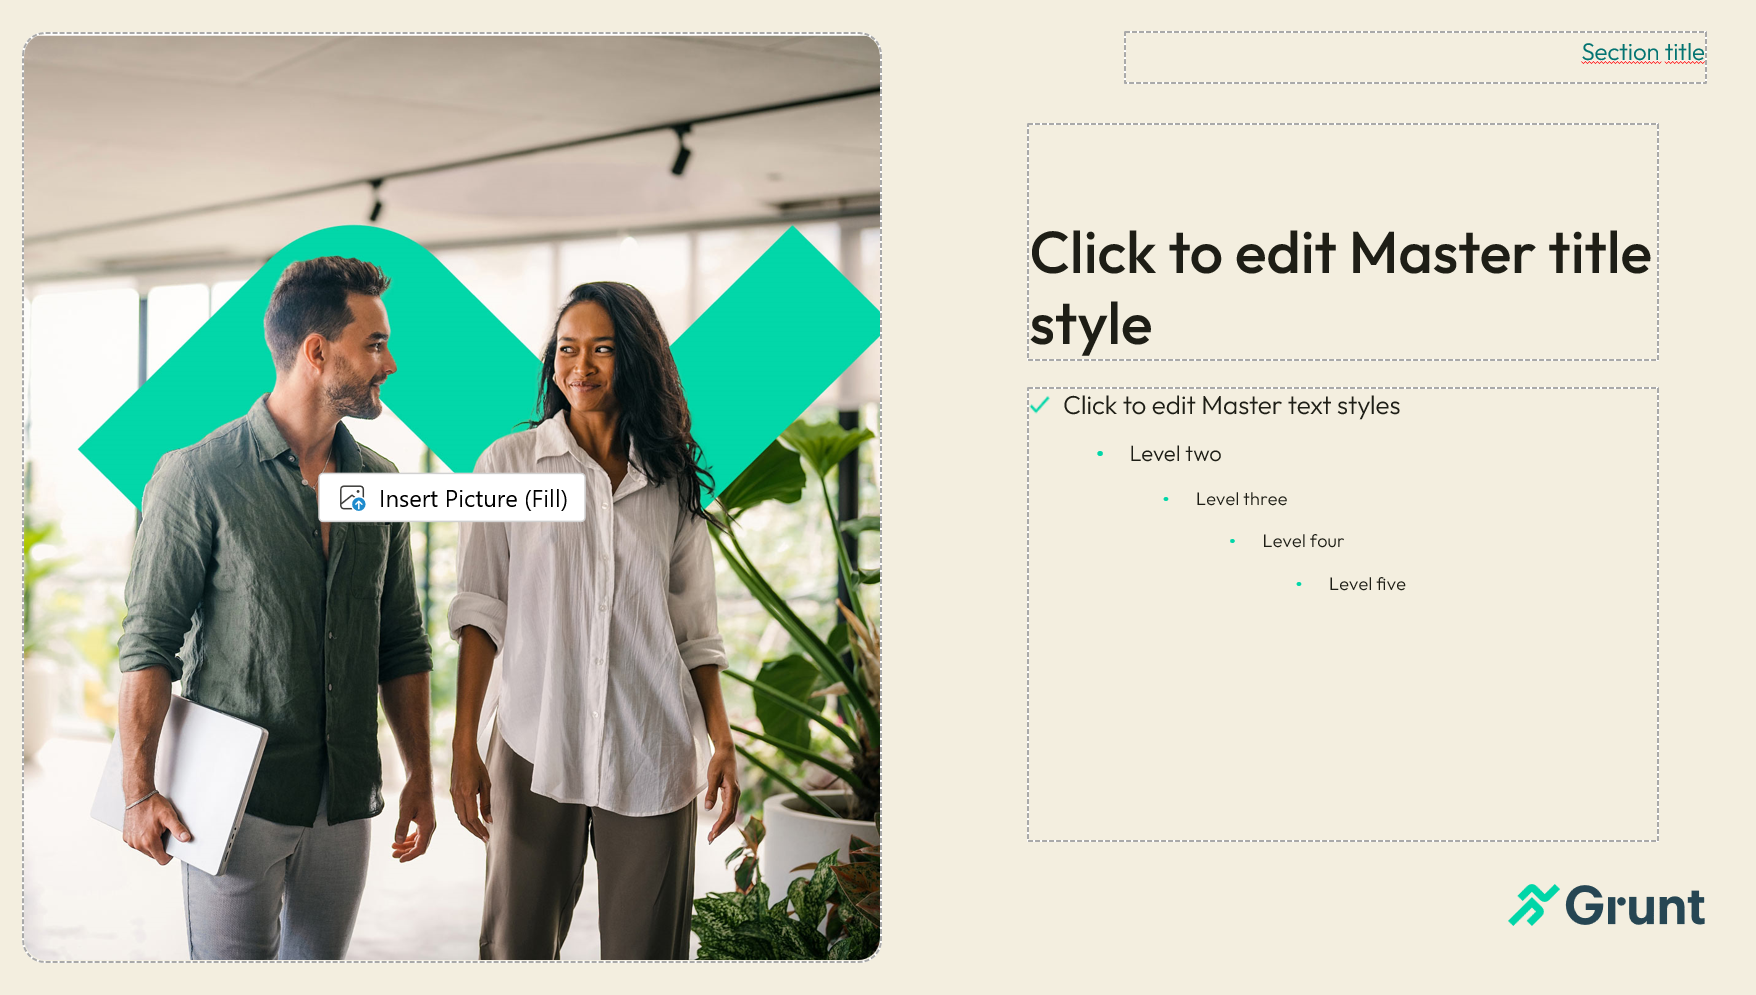
Select the layout you want to change. Adjust its shared objects and content areas, or use **Insert Layout** to add a new layout.
A presentation can contain several masters for different themes or styles. Check that you are changing the one used by the relevant slides.
## Edit a layout
Select the layout you want to change. Adjust its shared objects and content areas, or use **Insert Layout** to add a new layout.
 ## Add placeholders
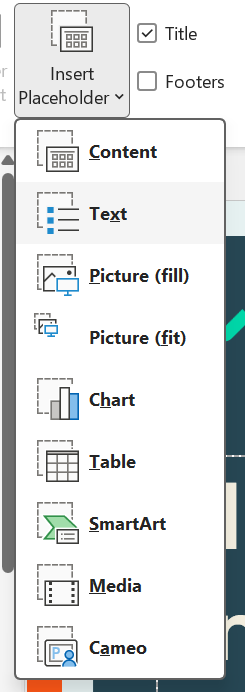
Use **Insert Placeholder** on a layout to define where text, pictures, charts, or other content should go.
## Add placeholders
Use **Insert Placeholder** on a layout to define where text, pictures, charts, or other content should go.
 Grunt's [Snap to placeholder](/powerpoint-add-in/user/themes-and-defaults#snap-to-a-placeholder) command uses those areas to size and place Grunt objects consistently.
## Set backgrounds and colors
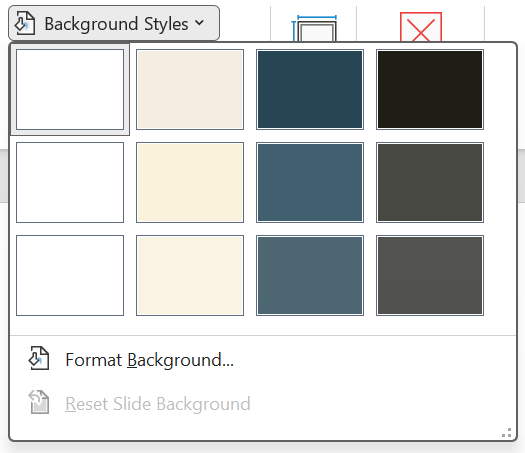
Use **Background Styles** for the layout's background fills.
Grunt's [Snap to placeholder](/powerpoint-add-in/user/themes-and-defaults#snap-to-a-placeholder) command uses those areas to size and place Grunt objects consistently.
## Set backgrounds and colors
Use **Background Styles** for the layout's background fills.
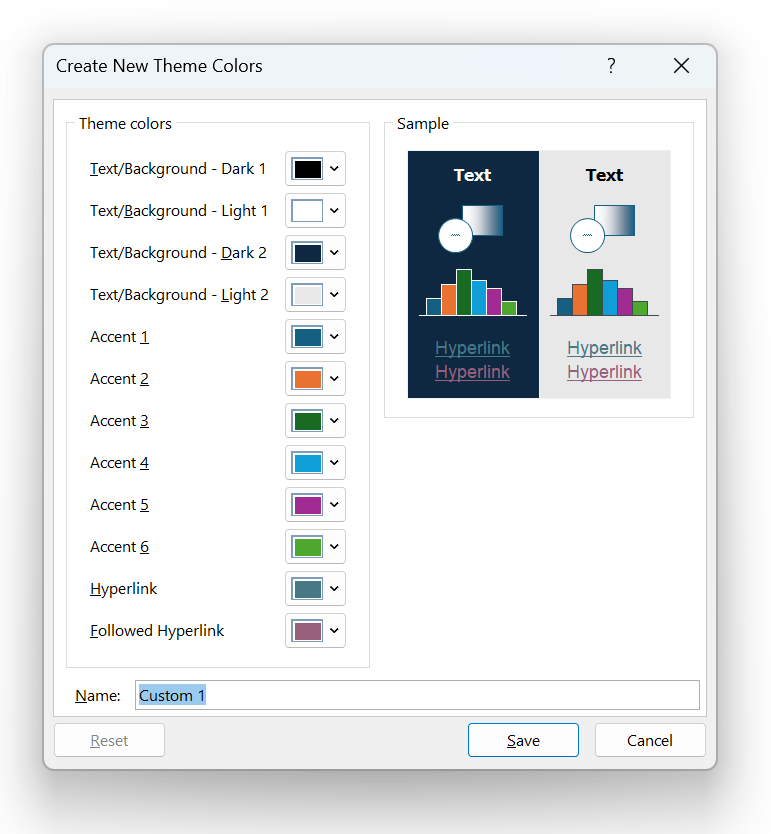
 Use the theme color controls to configure text/background colors and the six accent colors. Grunt uses those accent colors when inserting charts and graphics.
 ## Choose fonts
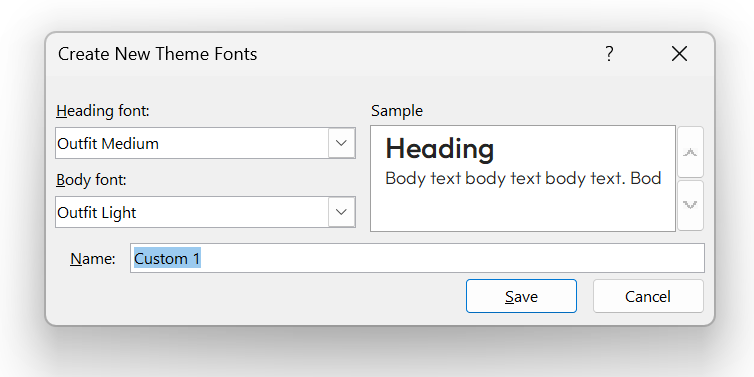
Set **Heading** and **Body** fonts in the master's font settings. PowerPoint uses the heading font for headings; Grunt uses the body font for its inserted content.
## Choose fonts
Set **Heading** and **Body** fonts in the master's font settings. PowerPoint uses the heading font for headings; Grunt uses the body font for its inserted content.
 Close Master View when finished, then verify a normal slide and a Grunt chart. To reuse the theme for future presentations, follow [Themes and defaults](/powerpoint-add-in/user/themes-and-defaults#set-the-default-theme).
For PowerPoint's own guide, see [Microsoft: What is a slide master?](https://support.microsoft.com/en-us/office/what-is-a-slide-master-in-powerpoint-b9abb2a0-7aef-4257-a14e-4329c904da54).
Close Master View when finished, then verify a normal slide and a Grunt chart. To reuse the theme for future presentations, follow [Themes and defaults](/powerpoint-add-in/user/themes-and-defaults#set-the-default-theme).
For PowerPoint's own guide, see [Microsoft: What is a slide master?](https://support.microsoft.com/en-us/office/what-is-a-slide-master-in-powerpoint-b9abb2a0-7aef-4257-a14e-4329c904da54).