
Layout and structure rules
Align content, set margins, merge cells, size graphics, and clear formatting
Use these rules to control the structure of a Grunt object. For one-time changes to native slide shapes, use workflow tools.
#Alignment rule
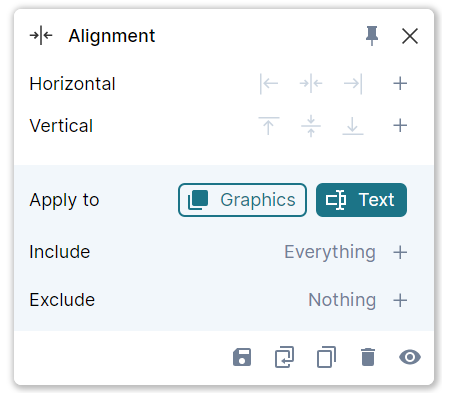
Align text, graphics, or both to the left, center, right, top, middle, or bottom of their container. Choose the content type under Apply to.
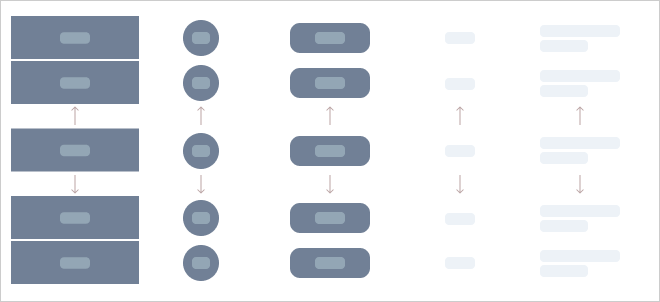
If content does not reach the cell edge, check its margins.
#Margin rule
Use Margin for text or to apply consistent spacing to graphics produced by several different rules. Most visual rules also have their own margin controls, which are convenient when you only want to adjust that rule's output.
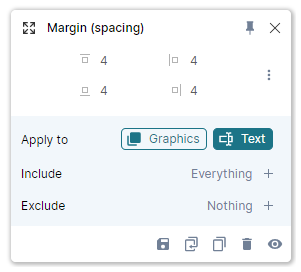
Grunt uses a 4-pixel margin around most elements by default. Set margins to 0 to extend content to the cell boundary. Adjust horizontal and vertical margins together, or set all four sides independently. Check Apply to so the rule affects the intended text or graphics.
Margin settings
#Merge rule
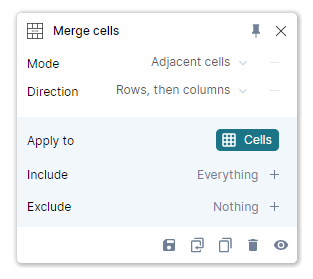
Merge cells dynamically while keeping the underlying data intact. The top-left cell supplies the displayed content. Disabling or deleting the rule restores the original grid and values.
| Mode | Behavior |
|---|---|
| Adjacent cells | Merges the targeted cells in the chosen direction. |
| Similar values | Merges adjacent cells with matching content; useful for repeated labels or pivot data. |
| Empty cells | Extends the top-left populated cell into adjacent empty cells. |
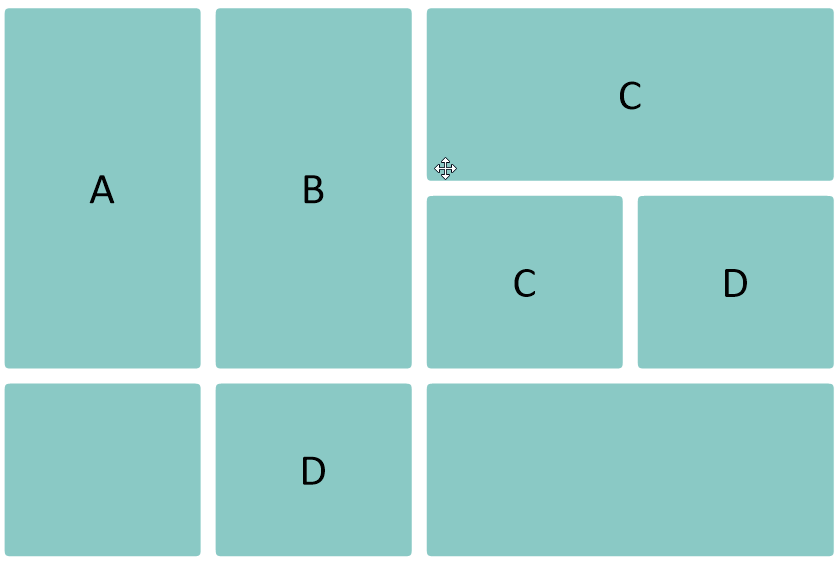
Excel's merged-cell formatting does not carry over when pasted into Grunt. Apply Similar values when your data contains the repeated labels you want to merge. Splitting cells is not supported.
#Choose a merge direction
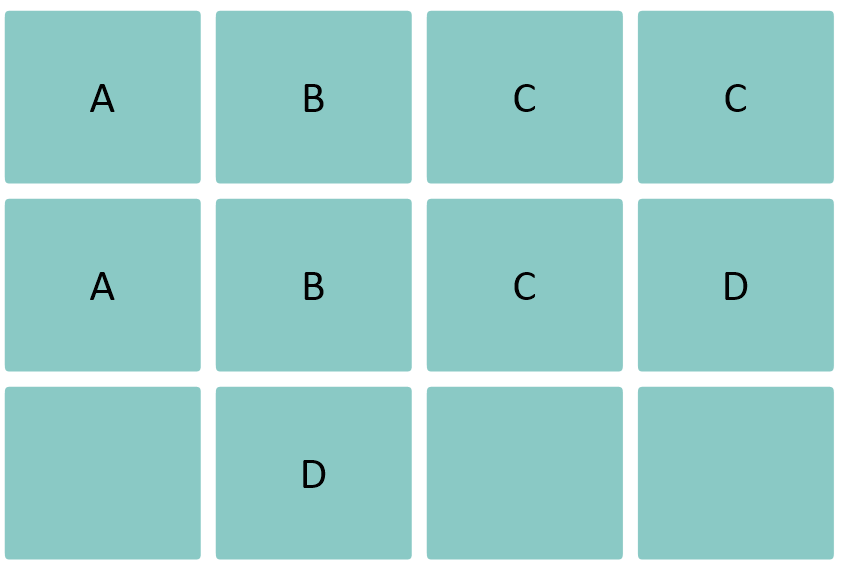
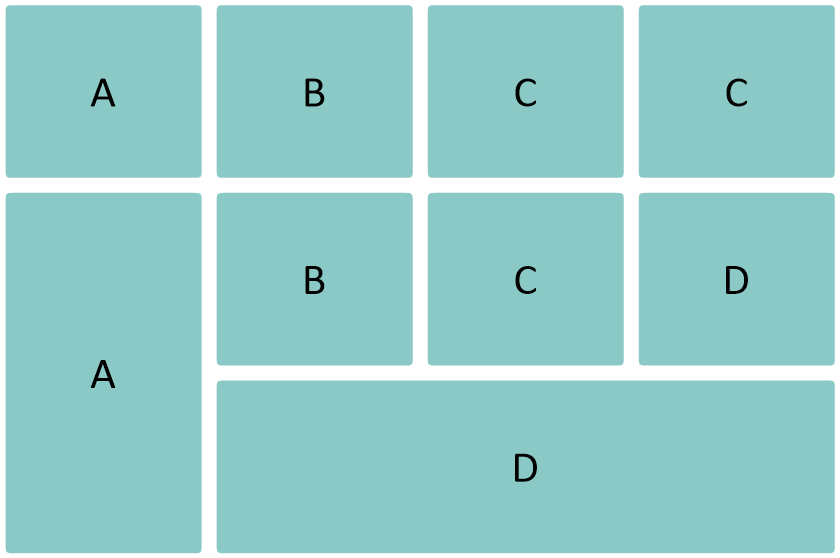
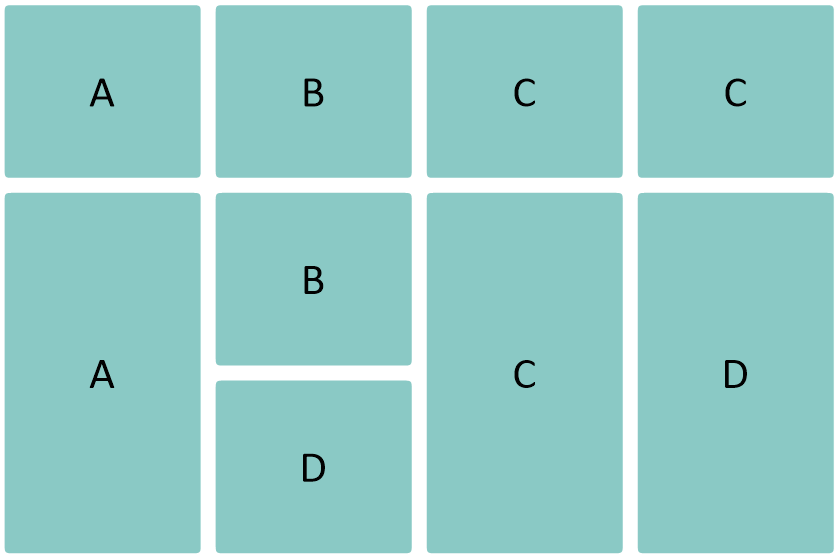
When several merges are possible, Direction determines which ones take priority. Rows, then columns is the default. Choose Columns, then rows to prioritize downward merging.
Compare merge directions
#Size rule
Use Size when graphics created by different rules should share a width or height. For example, target a whole row to size its shapes, icons, and gauges consistently.
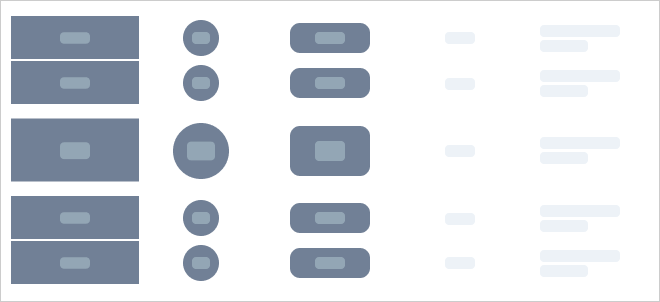
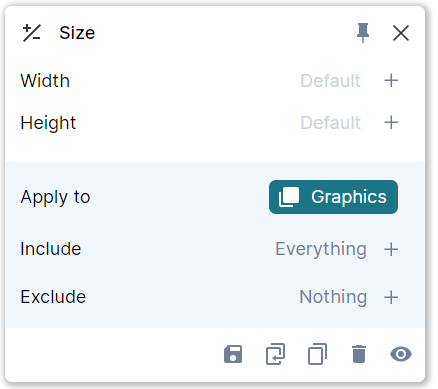
Width and height each support Fixed, Relative, and Fill Cell modes. To change just one visual's size, you can often use the size controls in the rule that creates it.
Size rule settings
#Clear rule
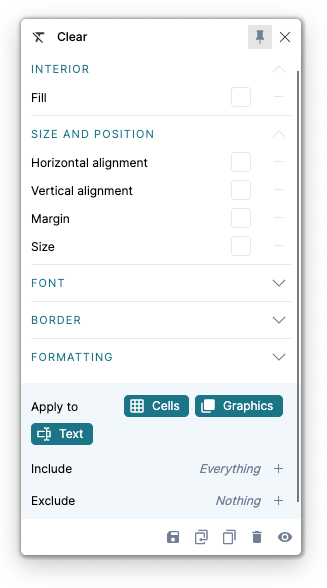
Use Clear to remove particular formatting properties from a target area. Expand groups such as Interior, Size and position, or Font, then choose the properties to clear. Options include fill, alignment, margins, fonts, borders, and date formatting.
Check the rule stack order when combining a Clear rule with other rules: higher rules can apply those properties again.