
Tools and shortcuts
Align, distribute, resize, and arrange PowerPoint objects with Grunt workflow tools
Use the workflow tools in the Grunt ribbon for one-time layout changes to shapes, text boxes, pictures, and Grunt objects. Use rules when the formatting should keep responding to data changes.
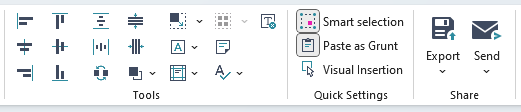
#Choose a reference object
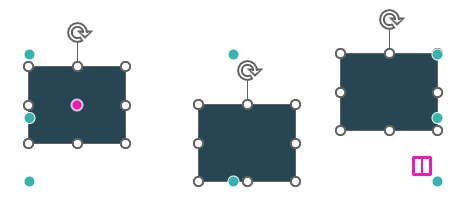
Alignment, stacking, and same-size operations use a reference object that stays in place. Turn on Smart Selection to see its pink dot. Click another object inside the selection to make that object the reference.
The first object you select is the default reference. If you drag to select several objects at once, the top-left object becomes the reference. With Smart Selection off, you cannot change the reference this way.
#Align objects
- Select every object you want to align, including the reference object.
- Check the pink dot and change the reference if needed.
- Choose an alignment command in the ribbon.
| Command | Aligns to the reference object's |
|---|---|
| Align Left | Left edge |
| Align Center | Horizontal center |
| Align Right | Right edge |
| Align Top | Top edge |
| Align Middle | Vertical center |
| Align Bottom | Bottom edge |
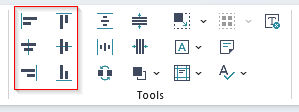
Hold Ctrl while clicking an alignment command to align the selection as a group against the slide, without grouping the objects first. A single selected object or an existing group aligns to the slide directly.
#Distribute and stack
Distribute creates equal gaps between at least three selected objects. Choose horizontal or vertical distribution; the outermost objects define the available space.
Hold Ctrl while distributing to use the slide: Grunt keeps the outermost reference spacing, mirrors that distance at the opposite slide edge, and distributes the remaining objects between them.
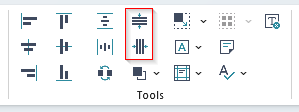
Stack removes the gaps between at least two objects. Choose Stack vertically or Stack horizontally. The reference object stays in place.
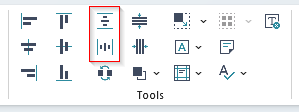
For a layout with both rows and columns, use Tidy Up.
#Swap positions and arrange layers
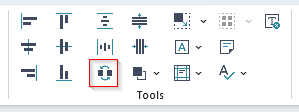
Select exactly two objects and click Swap to exchange their center positions.
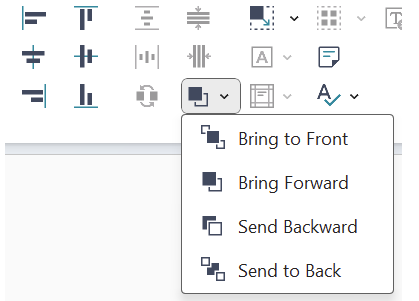
Use Arrange to change which object appears in front:
- Bring to Front or Send to Back moves the object through the entire layer stack.
- Bring Forward or Send Backward moves it one level.
#Make objects the same size
Select at least two objects and choose the reference object. Click Same Size, or open its menu to apply only Same Width or Same Height.
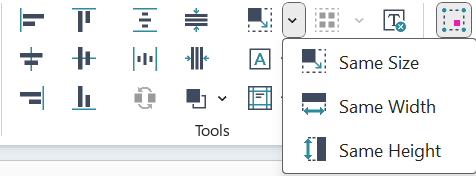
Hold Ctrl while using a same-size command to use the slide's dimensions as the reference.
#Fit shapes to their text
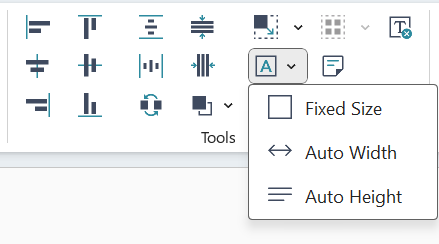
Select shapes or text boxes, then open Autofit:
| Mode | Behavior |
|---|---|
| Fixed Size | Keeps the shape size; additional text can overflow. |
| Auto Width | Expands horizontally. Insert a line or paragraph break when you want a new line. |
| Auto Height | Wraps text and expands vertically. |
#Set shape margins
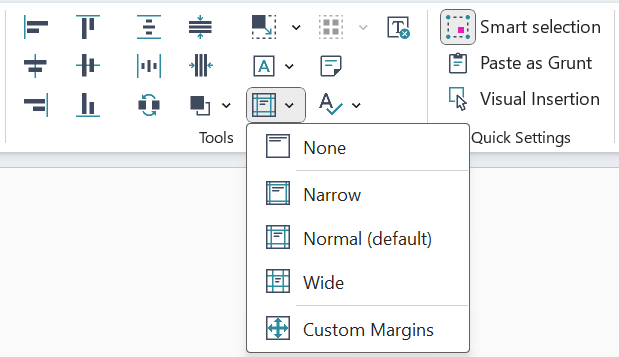
For native PowerPoint objects, choose Shape Margins and a preset:
| Preset | Margins |
|---|---|
| None | 0 on every side |
| Narrow | 0.13 cm / 0.05 in on every side |
| Normal | Top/bottom 0.13 cm / 0.05 in; left/right 0.25 cm / 0.1 in |
| Wide | 0.38 cm / 0.15 in on every side |
| Custom Margins | Set each side individually or link the values with the chain icon |
For content inside Grunt objects, use the Margin rule.
#Select similar shapes
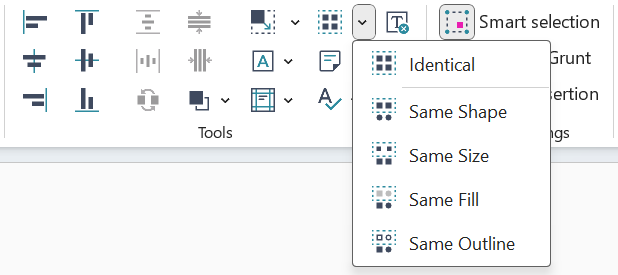
Select a native PowerPoint shape, then use Select similar. The main button selects identical shapes. Its menu can match just the shape type, size, fill, or outline.
Identical requires the same shape type, fill, outline, and size. This tool applies to native PowerPoint shapes.
#Add a sticky note
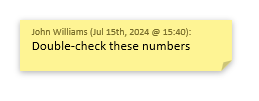
Click Sticky Notes to add a comment directly to the slide. The first line uses your PowerPoint or Microsoft account name. The default note font size cannot be customized.
#Set proofing language
Choose Set proofing language to apply a language to all shapes and text boxes across the presentation, including Grunt objects. The languages at the top of the menu reflect your installed language packs.
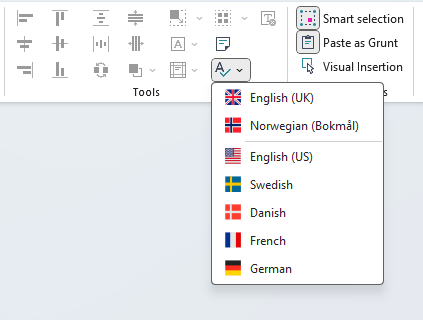
PowerPoint can assign a proofing language even when its dictionary is not installed. Install the corresponding language or proofing pack if you need spelling checks for that language.
#Keyboard shortcuts
These shortcuts apply on Windows. Inside the Data Editor, some keys have spreadsheet-specific meanings; see Data Editor.
| Area | Action | Shortcut |
|---|---|---|
| General | Add rule | Ctrl + Enter |
| General | Open Tag Manager | Ctrl + T |
| General | Open Data Editor | Ctrl + Shift + E |
| Charts | Select a range of labels | Shift + click |
| Charts | Add or remove an item in the selection | Ctrl + click |
| Charts | Select all items on the same level | Ctrl + A |
| Visual Grid | Insert row or column before | Ctrl + + |
| Visual Grid | Insert row or column after | Ctrl + Shift + + |
| Visual Grid | Select row | Shift + Space |
| Visual Grid | Select column | Ctrl + Space |
| Visual Grid | Select all cells | Ctrl + A |
| Visual Grid | Move to the end | Ctrl + arrow key |
| Visual Grid | Expand selection | Shift + arrow key |
| Visual Grid | Expand selection to the end | Ctrl + Shift + arrow key |
| Visual Grid | Hide row or column | Ctrl + - |
| Visual Grid | Edit cell | F2 |
| Text edit | Commit / discard text edit | Enter / Esc |
| Text edit | Insert line break or list item | Shift + Enter |
| Text edit | Increase / decrease list level | Tab / Shift + Tab |
| Text edit | Move list items | Shift + Alt + up/down arrow |